The E1 error code on your boiler typically points to low water pressure, a problem that directly impacts performance and efficiency. You’ll want to regularly check the pressure gauge to guarantee it’s between 1.0 and 1.5 bar when cold. Ignition issues, faulty flame sensors, or obstructed gas valves can also cause this code. Confirm connections are secure and wires aren’t damaged. Turn off the boiler before adjusting pressure via the filling loop. Proper calibration of sensors and routine inspections prevent this error. Addressing these steps resolves many E1 issues, and exploring further techniques might reveal additional solutions.
Key insights
- The E1 error code typically indicates low water pressure or ignition issues in the boiler system.
- Regularly check and maintain boiler pressure between 1.0 and 2.0 bar to prevent E1 errors.
- Inspect ignition electrodes, flame sensors, and gas valves for obstructions or misalignment causing ignition failures.
- Ensure pressure sensors and wiring are functioning correctly to avoid false E1 error alerts.
- Persistent E1 errors after troubleshooting may require professional technician intervention for thorough diagnostics and maintenance.
Understanding the E1 Error

When you encounter an E1 error code on your boiler, it indicates a specific issue that needs attention to guarantee efficient functioning. This error code is a vital part of your boiler’s diagnostic system, designed to alert you to problems that could compromise performance or safety. Understanding the E1 error is essential for proper boiler maintenance, making sure that you can address the issue promptly and effectively. Regular servicing by qualified engineers can prevent unexpected boiler breakdowns and guarantee consistent operation.
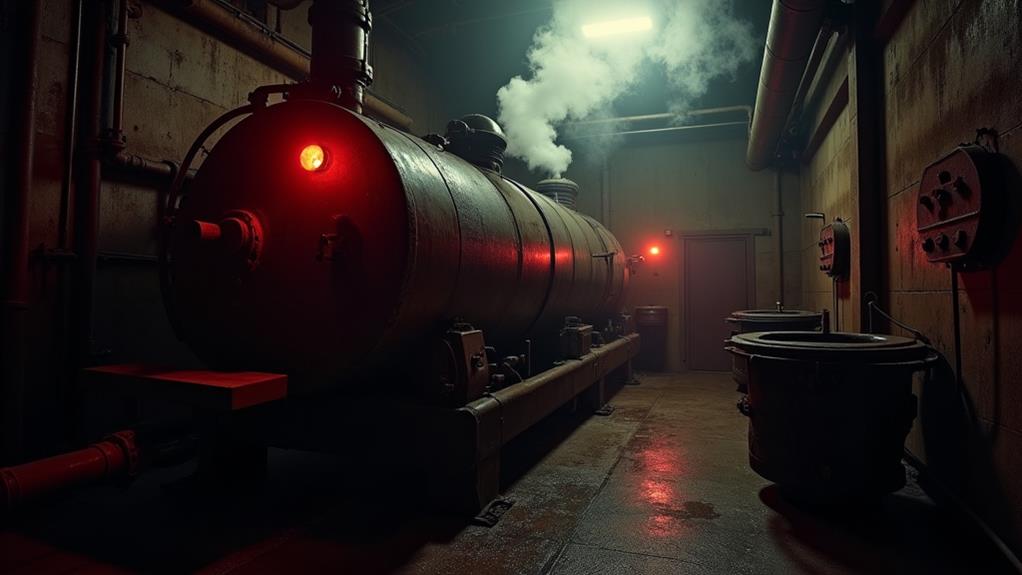
The E1 error typically relates to issues within the boiler’s pressure system, often signaling that the water pressure is too low. Boilers depend on a consistent pressure level to function correctly, and deviations can lead to inefficiencies or shutdowns. As part of routine boiler maintenance, regularly monitoring your boiler’s pressure gauge can help prevent this error. If you see the E1 code, it’s vital to verify that the pressure is within the recommended range specified in the user manual.
Additionally, it’s important to check for any visible leaks or blockages in the system. By understanding the E1 error and incorporating this knowledge into your maintenance routine, you can guarantee your boiler operates efficiently and reliably. Unaddressed issues like these can lead to increased energy consumption and higher operational costs.
Common Causes of E1 Code
Diagnosing the common causes of an E1 error code requires a precise understanding of your boiler’s mechanics. This error often indicates a failure in the ignition process or issues with the gas valve. When the E1 error appears, it could mean the boiler’s ignition system isn’t functioning correctly, leading to an incomplete or failed ignition sequence. This is where the importance of hiring qualified installers for ideal setup comes in, as they can provide insightful diagnostics and solutions. Start by examining the ignition electrodes; they might be dirty or improperly aligned, preventing a successful spark.
Another potential culprit is the gas valve. If it’s not opening fully or is obstructed, the boiler won’t receive the necessary fuel to ignite. Regular boiler maintenance, including checking and cleaning the gas valve, can prevent such issues. Following a maintenance schedule recommended by professionals can help maintain the boiler’s efficiency and longevity. Additionally, inspect the flame sensor. A malfunctioning sensor, due to dirt or wear, might not detect the flame, signaling an E1 error.
Also, consider the boiler’s circuit board. Electrical faults or damage may disrupt communication between components, causing ignition failures. Confirm all wiring is intact and connections are secure. Address these common causes methodically to resolve the E1 error and restore your boiler’s functionality efficiently. Regular inspections and maintenance will minimize the recurrence of such issues.
Checking Boiler Pressure

To address the E1 error code, start by checking if your boiler’s pressure is within the ideal range, typically between 1.0 and 2.0 bar. The significance of this step can’t be overstated, as maintaining the right pressure is essential for the boiler’s operation and overall commercial heating efficiency. Locate the pressure gauge, usually found on the front panel or near the bottom of the boiler, to read the current pressure. If necessary, adjust the pressure by adding water through the filling loop until the gauge indicates the correct level.
Optimal Pressure Range
Understanding the ideal pressure range for your boiler is essential for maintaining its efficiency and preventing error codes like E1. Boilers typically operate best within a pressure range of 1.0 to 1.5 bar when cold, guaranteeing both performance efficiency and pressure safety. If the pressure falls below or rises above this range, it can trigger the dreaded E1 error code. Consistently monitoring the pressure guarantees that your boiler functions effectively and safely.
If your boiler pressure is below the best range, it may struggle to heat your home efficiently, leading to increased energy consumption and potential system strain. Conversely, pressure exceeding 2.5 bar can damage internal components, compromising pressure safety and risking leaks or more severe malfunctions.
To maintain the right pressure, you should regularly check your boiler’s pressure gauge and adjust it as necessary. This involves either releasing excess pressure or repressurizing the system, depending on the current reading. By keeping the pressure within the best range, you guarantee the longevity of your boiler, reduce the likelihood of breakdowns, and avoid the inconvenience of error codes. Proper maintenance and vigilance are key to a reliable heating system.
Pressure Gauge Location
Locating your boiler’s pressure gauge is fundamental for maintaining ideal system performance and avoiding error codes like E1. First, familiarize yourself with the pressure gauge types, as this will help you identify the correct component on your boiler. You’ll typically find the pressure gauge on the front panel of your boiler, often near other significant controls and indicators. Identifying it is easy, as it resembles a small round dial with numerical markings.
To guarantee accurate readings and performance, regular pressure gauge maintenance is vital. Here’s a simple checklist for maintaining your boiler’s pressure gauge:
- Inspect the Gauge: Check for any visible damage or corrosion on the gauge face or connections. A compromised gauge may give false readings.
- Clean the Gauge: Dust and debris can obscure the dial. Use a soft cloth to wipe the face clean, guaranteeing clarity.
- Check for Leaks: Inspect the connections for any signs of leakage. Tighten connections if necessary, but be cautious not to overtighten.
- Calibrate Periodically: Consult your boiler’s manual to determine if calibration is needed and follow specified procedures to guarantee accurate pressure readings.
Adjusting Pressure Levels
Kicking off the process of adjusting your boiler’s pressure levels involves a few essential steps to guarantee peak performance. First, locate the pressure gauge—usually on the front panel—making sure it reads within the ideal range, typically between 1.0 and 1.5 bar when the system is cold. If it doesn’t, you’ll need to perform a pressure adjustment. Begin by turning off the boiler to avoid any risk of scalding or damage.
Next, find the filling loop, often a silver flexible hose beneath the boiler. Open the valves on either side of the hose carefully to allow water to enter the system, watching the gauge closely. This action constitutes the pressure adjustment procedure. Once the needle reaches the desired level, quickly close the valves to prevent over-pressurizing.
After you’ve adjusted the pressure, perform pressure calibration by turning the boiler back on and running the heating system. This step guarantees the pressure remains stable during operation. If the gauge shows inconsistencies, you may need to bleed the radiators or seek professional assistance. Consistently maintaining correct pressure levels is vital for avoiding the E1 error code and guaranteeing efficient boiler operation.
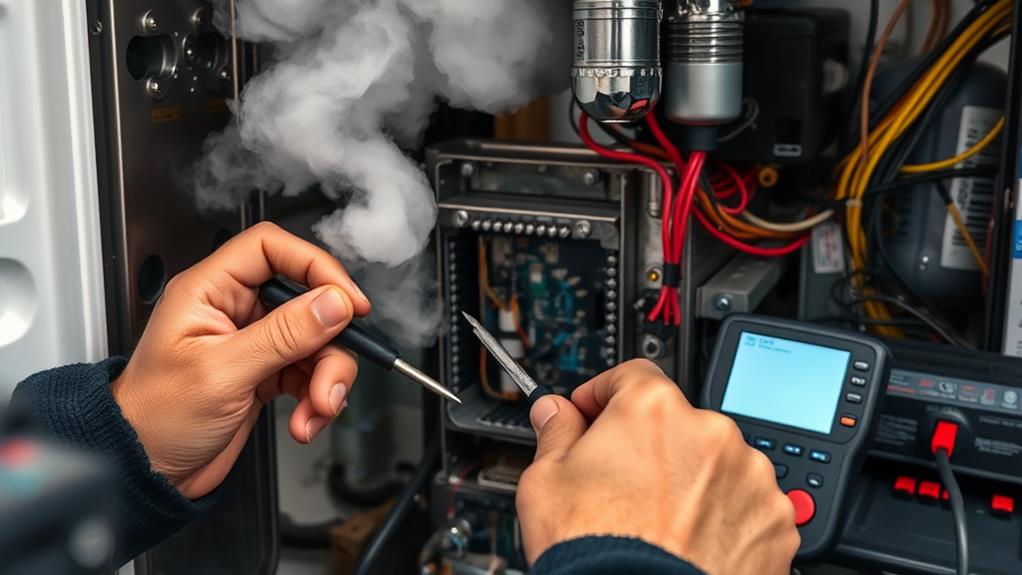
Inspecting Sensors and Wiring
Before delving into the intricacies of fixing an E1 error code on your boiler, it’s crucial to inspect the sensors and wiring meticulously. Faulty sensors or compromised wiring can be the root cause of this error. When doing this, keep in mind that just like in commercial heat pump systems, proper installation and maintenance are key to the efficiency and longevity of your boiler. Begin with sensor calibration to verify each sensor accurately measures temperature and pressure. Calibration errors can trigger false alarms, leading to incorrect error codes.
Next, conduct a thorough wiring inspection. Loose or frayed wires can disrupt the communication between components, causing the boiler to display an E1 error. Follow these steps:
- Visual Inspection: Start by visually inspecting the wiring connections for signs of wear, corrosion, or damage. Confirm all connectors are tight and secure.
- Continuity Check: Use a multimeter to perform a continuity test on the wiring. This helps verify that the electrical path is intact and uninterrupted.
- Sensor Connections: Examine each sensor’s connection point to confirm they’re properly secured. Loose connections can result in erratic sensor readings.
- Replace Damaged Wires: If you find any damaged wires, replace them immediately to restore the system’s integrity and prevent future errors.
Addressing these issues promptly can often resolve the E1 error code efficiently without further complications.
Troubleshooting Boiler Components

To effectively address the E1 error code, a thorough troubleshooting of the boiler’s components is essential. This is a vital part of plant room maintenance, ensuring the smooth operation of heating systems. Begin by ensuring the power supply is stable and connections are secure. Check the control panel for any visible issues, such as blown fuses or tripped circuit breakers. Inspect the thermostat for proper function, making sure it’s accurately calibrated and set to the correct temperature.
Next, examine the pressure gauge. The pressure should fall within the manufacturer’s recommended range; if not, adjust it accordingly. Proceed to inspect the pump for any signs of malfunction, such as unusual noises or leaks that may impede water circulation.
During boiler maintenance, pay close attention to the heat exchanger. Any buildup of debris or corrosion can greatly affect its performance. Clean or replace it as necessary. Regular inspection and cleaning of this component is essential to prevent equipment damage and costly repairs, as part of an effective preventative maintenance plan. Don’t forget to check the air vent for blockages that might restrict airflow, impacting combustion efficiency.
Always observe safety precautions throughout this process. Turn off the boiler and disconnect it from the power source before handling any components. Wear protective gear to prevent injury. By systematically inspecting each part, you’re more likely to identify and rectify the root cause of the E1 error code effectively.
Resetting Your Boiler
Resetting your boiler is often a straightforward yet vital step in resolving the E1 error code. By following the correct procedure, you can guarantee your system returns to peak functioning without unnecessary delays. It is important to note that regular inspections, as highlighted in the Commercial Gas Safety Certificate, can help prevent such issues, guaranteeing your safety and the efficiency of your boiler. Here’s a precise guide to help you reset your boiler safely:
- Turn Off the Power: Begin by switching off your boiler’s power supply. This is critical for your safety and prevents any electrical hazards during the process. Use the main power switch located near the boiler.
- Consult the Manual: Refer to your boiler’s user manual for specific reset instructions. Each boiler model can have unique reset steps, so it is important to follow the manufacturer’s guidelines.
- Press the Reset Button: Locate the reset button on your boiler. Press and hold it for several seconds until the boiler initiates the reset process. If you don’t see a reset button, consult the manual for alternative methods.
- Monitor the Boiler: Once reset, observe the boiler for any unusual noises or issues. If the E1 error code persists, it might be time to evaluate emergency boiler procedures or additional boiler maintenance tips.
When to Call a Professional
Occasionally, resolving an E1 error code on your boiler might require the expertise of a professional technician. If you’ve attempted basic troubleshooting such as resetting your boiler and checking for obvious issues like blockages or leaks, but the error persists, it’s time to weigh professional help. Persistent E1 errors could indicate deeper problems like a malfunctioning pressure sensor or a faulty circuit board, which require specialized diagnostic tools and skills.
A professional technician can conduct a thorough boiler maintenance check to identify and rectify underlying issues. They’ll have access to the necessary equipment and parts, ensuring your boiler operates safely and efficiently. It’s beneficial to call a professional if you’re unsure about the complexities of boiler systems, as incorrect handling could exacerbate the issue or void your warranty.
In cases where the E1 error accompanies unusual noises, leaks, or a complete shutdown, contacting emergency services is essential. These symptoms can indicate severe malfunctions that pose safety risks. Regular boiler maintenance by a certified technician can prevent such emergencies, ensuring long-term reliability and efficiency. Don’t hesitate to reach out for professional assistance when needed, prioritizing safety and proper functioning of your boiler.
Frequently Asked Questions
Can Weather Conditions Affect the E1 Error Code on My Boiler?
Weather conditions can indeed affect your boiler’s performance. When temperatures drop, your boiler may have to work harder, potentially leading to issues. Humidity can also impact the system, causing condensation that might interfere with electrical components. High winds might affect venting, leading to inefficient burning and pressure fluctuations. These weather effects could contribute to errors, so it’s essential to regularly check and maintain your boiler for peak functioning.
How Does Regular Maintenance Prevent the E1 Error Code?
Regular maintenance is essential for effective boiler upkeep. By scheduling routine inspections, you’ll identify potential issues before they escalate. Cleaning components, checking connections, and ensuring proper ventilation are key maintenance benefits. This proactive approach prevents malfunctions, ensuring your boiler operates smoothly. You’ll reduce the likelihood of error codes by keeping parts in peak condition and promptly addressing wear and tear. Regular upkeep extends your boiler’s lifespan, enhancing efficiency and performance.
Are Certain Boiler Brands More Prone to E1 Errors?
When considering boiler reliability, you might wonder if some brands experience higher error frequency. Indeed, certain brands could be more prone to issues due to design flaws or manufacturing inconsistencies. It’s essential to research user reviews and expert analyses to identify patterns in error frequency. Comparing performance data across brands helps determine which models maintain reliability. Regular maintenance plays a role, but brand reputation often indicates potential for frequent errors.
Can E1 Error Codes Impact My Energy Bills?
Energy efficiency can considerably affect your energy bills. If errors arise, like frequent E1 codes, your system might operate less effectively, leading to higher costs. When your boiler’s efficiency drops, it consumes more fuel to achieve desired temperatures, increasing your expenses. Addressing these issues promptly can mitigate cost implications. Regular maintenance guarantees your system runs at its best, preventing energy waste and keeping your energy bills under control. Don’t ignore error codes!
Is There a Warranty Covering E1 Error Code Repairs?
When determining if there’s warranty coverage for repair costs, check your boiler’s warranty documentation. Manufacturers often cover specific parts or issues, but it’s essential to confirm if error code repairs are included. Don’t assume coverage without verification. Contact customer service for precise terms regarding repair costs. If your warranty includes error code repairs, it might save you significant out-of-pocket expenses. Always keep records of your warranty and service history for reference.
Summary
In tackling the E1 error code, think of yourself as a modern-day Sherlock, piecing together clues from pressure levels, sensor conditions, and wiring integrity. By systematically inspecting and troubleshooting each component, you can often resolve the issue without summoning professional help. However, like Watson to Holmes, know when to call a technician for assistance. Your boiler’s smooth operation hinges on your attention to detail and willingness to explore its intricacies with a detective’s keen eye.